Achieve compliance with AWS OpsWorks for Chef Automate
This example demonstrates how to implement continuous compliance in AWS environments with InSpec, Chef and Chef Automate.
Overview
The demo is based on a webinar presented by Mark Rambow and me. This post follows the pattern of the webinar by showcasing how continuous compliance is applied with AWS OpsWorks. Since OpsWorks is based on Chef Automate, it works very similar with Chef Automate standalone.
The example is split in three sections:
- Setup continuous compliance on one new instance
- Scale continuously with auto-scaling
- Use a custom InSpec profile
Let’s get started.
Preparation
We need some pieces upfront:
- A running OpsWorks Chef Automate instance
- IAM roles and policies are setup, see FAQ
- ChefDK is installed on your workstation
- OpsWorks StarterKit
Note: This kit does not include the .chef directory since it contains private credentials. The userdata.sh and userdata.ps1 are not generated for your environment. You need to adapt it or replace it with the one from your starter kit.
Get Started
As the first step, we need to download the kit and upload all cookbooks to the Chef Server that is embedded in OpsWorks.
# clone repository
git clone git@github.com:chris-rock/opsworks-example.git

# ensure .chef directory is there or chefdk is

# bundles all cookbooks and dependens from Berksfile in cookbooks directory
$ berks vendor cookbooks

# upload all cookbooks to Chef Server
$ berks upload
Detect and Correct for one AWS instance
See Chef client reporting to Automate
We are ready to define the Chef role that we want to apply to our new EC2 instance. Adapt the role roles/webserver.rb to ensure it looks like:
name "webserver"
description "Example webserver"

run_list(
  "recipe[chef-client]",
  "recipe[nginx]",
  "recipe[inspec-page]",
)
This role configures the chef-client, installs nginx and setups the inspec page in nginx. The operating system is not hardened in that example yet. Upload the role to Chef Server:
$ knife upload role roles/webserver.rb
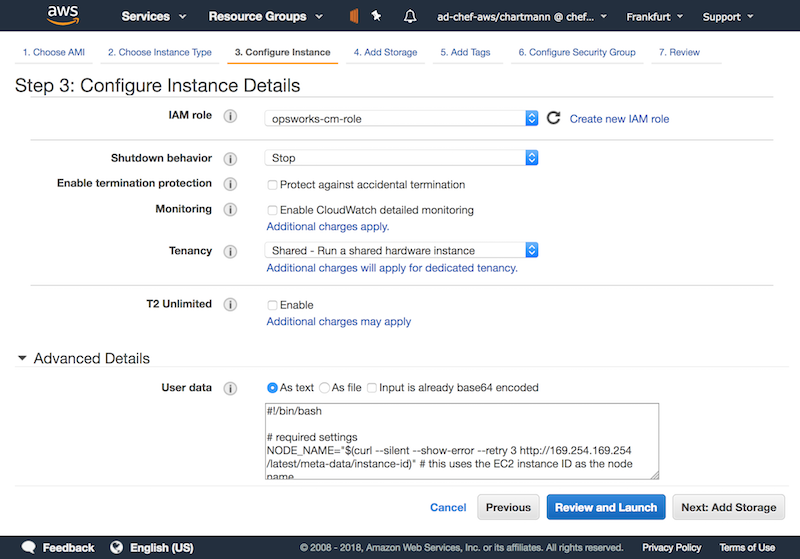
Created roles/webserver.jsonWe’ve done all the require preparation and we are ready to start our first Amazon Linux instance. I’ve used the Amazon Linux 2017.09 with t2.micro. SSH and HTTPs are the only entries required in your security group configuration. When you reach the instance details section, please make sure the correct IAM instance profile is selected and the userdata contains your role RUN_LIST="role[webserver]".
Once the instance is up and running, chef-client is executed automatically since it was configured in userdata. The clients pulls the required Chef role and the cookbooks from Chef Server
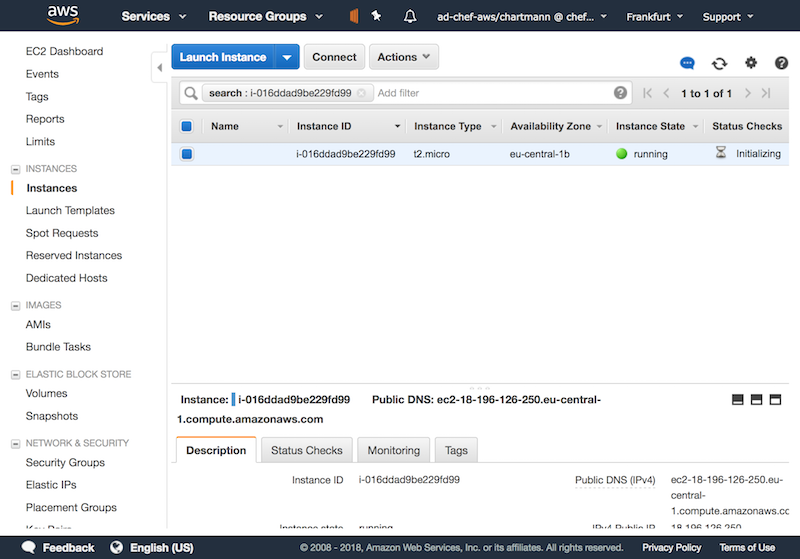
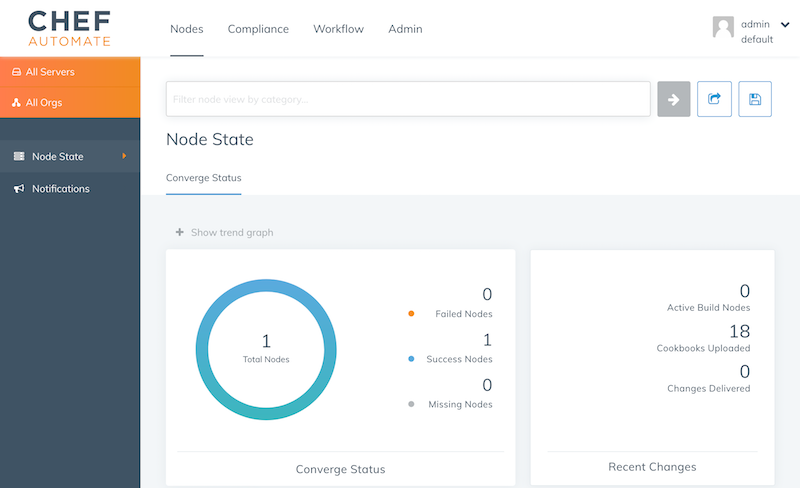
Once the chef-client finished its first run, you see instance reporting its run list to Chef Automate.
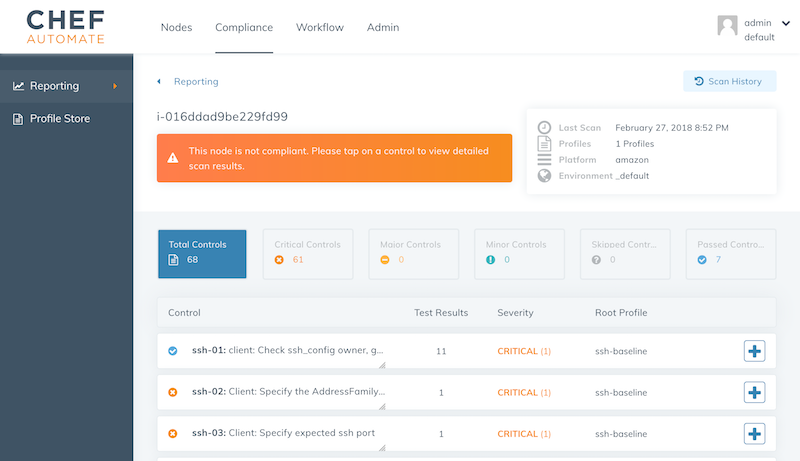
Run audit scan
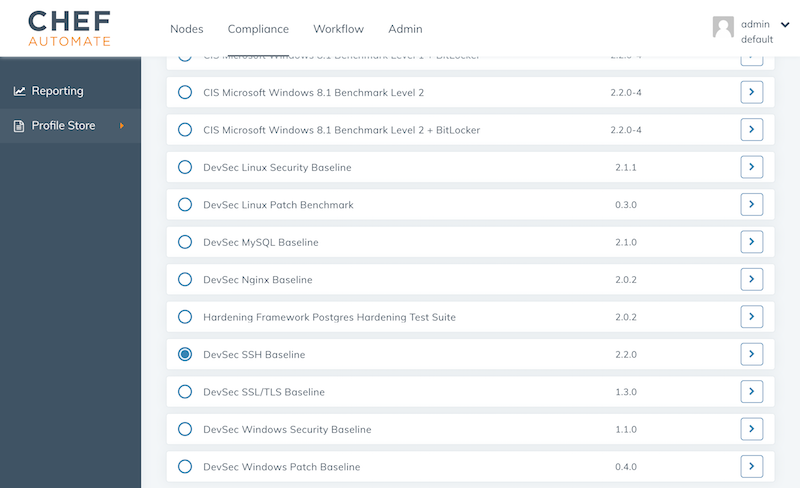
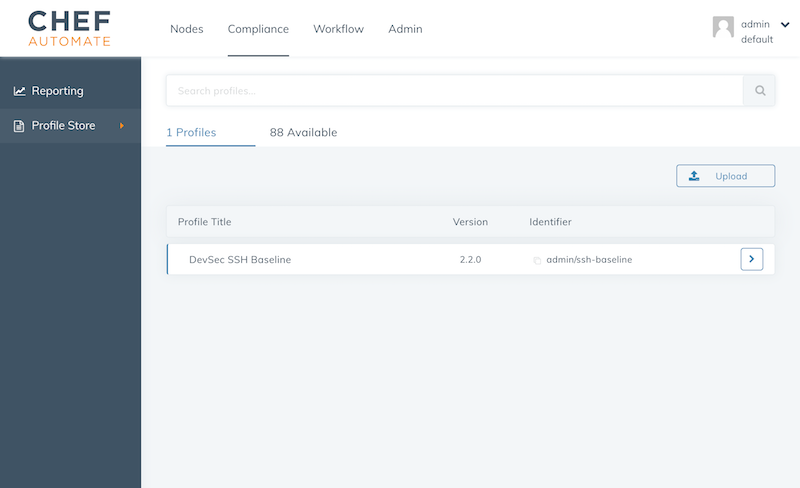
So far, we configured the automation, but not compliance scans. We are going to apply the DevSec SSH Baseline. In Automate’s compliance profile section, load the profile into your namespace. The DevSec profiles are part of the Chef Automate package.
Once the profile is in your namespace, update the webserver role with the audit cookbook and ensure the audit cookbook is uploaded to the Chef Server by adding it to the Berksfile:
cookbook 'audit'If you changed the Berksfile, run
$ berks vendor cookbooks
$ berks upload
To configure the audit cookbook, adapt the role as following:
name "webserver"
description "Example webserver"

default_attributes "audit" => {
    "reporter" => "chef-server-automate",
    "profiles" => [
        {
            "name": "ssh-baseline",
            "compliance": "admin/ssh-baseline"
        },
    ]
}

run_list(
  "recipe[chef-client]",
  "recipe[nginx]",
  "recipe[inspec-page]",
  "recipe[audit]"
)
The run list includes "recipe[audit]" now and the audit attributes let the audit cookbook know to use its chef-server-automate reporter. All the InSpec reports are sent via the Chef Server to Chef Automate. admin/ssh-baseline is the namespace that you see in Chef Automate’s profile overview. Once everything is setup properly, you see the ssh baseline reporting to Chef Automate.
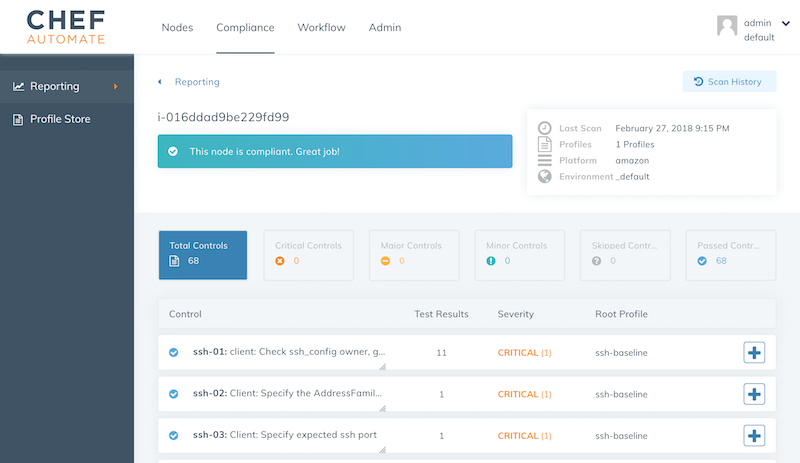
Apply server hardening
Of course, we do not want to tackle the server hardening manually. There is a cookbook for that and we are applying the DevSec SSH hardening cookbook via our run list.
name "webserver"
description "Example webserver"

default_attributes "audit" => {
    "reporter" => "chef-server-automate",
    "profiles" => [
        {
            "name": "ssh-baseline",
            "compliance": "admin/ssh-baseline"
        },
    ]
}

run_list(
  "recipe[chef-client]",
  "recipe[ssh-hardening]",
  "recipe[nginx]",
  "recipe[inspec-page]",
  "recipe[audit]",
)
Scale continuous compliance with autoscaling
We’ve prepared everything you need. To scale the detection and correction automatically, we are going to apply the role for more servers. In practice you would tie the application deployment with the hardening in one role, but we keep it for simplicity.
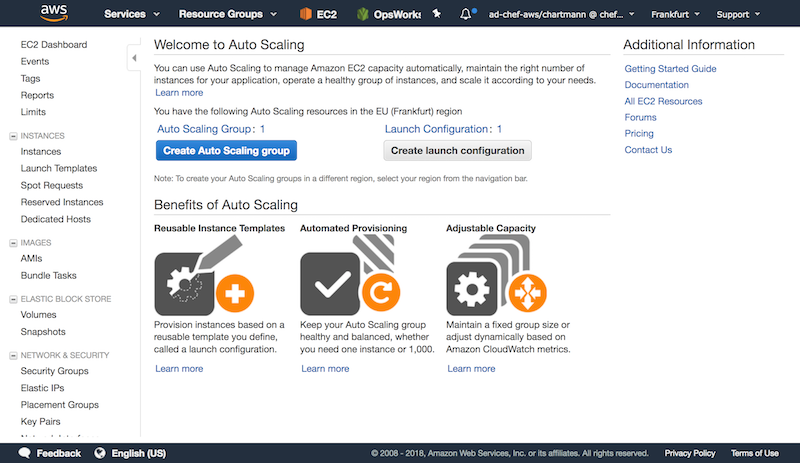
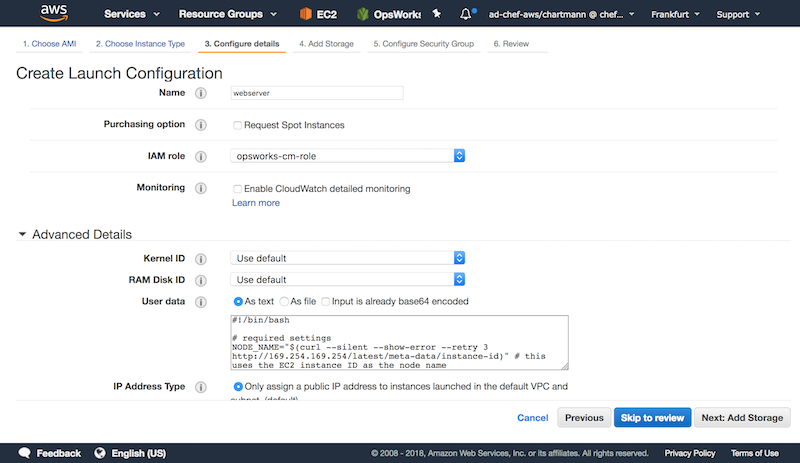
As the first step, we are creating a new auto scaling group with a new launch configuration:
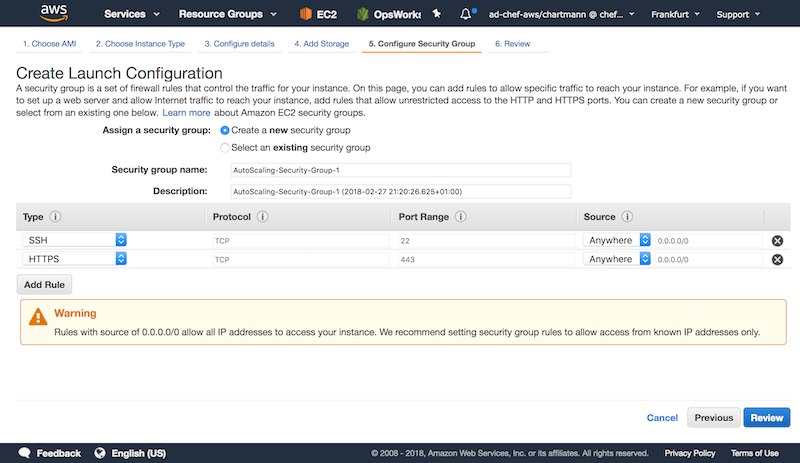
Setup the correct security group for each instance:
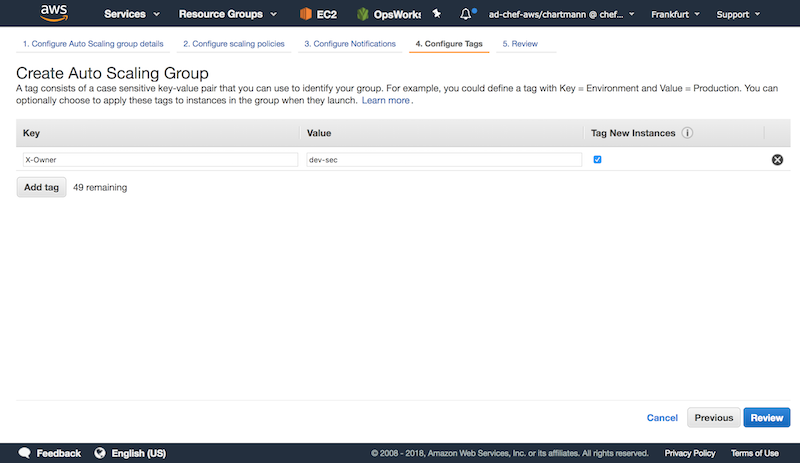
Add custom tags for your auto scaling group:
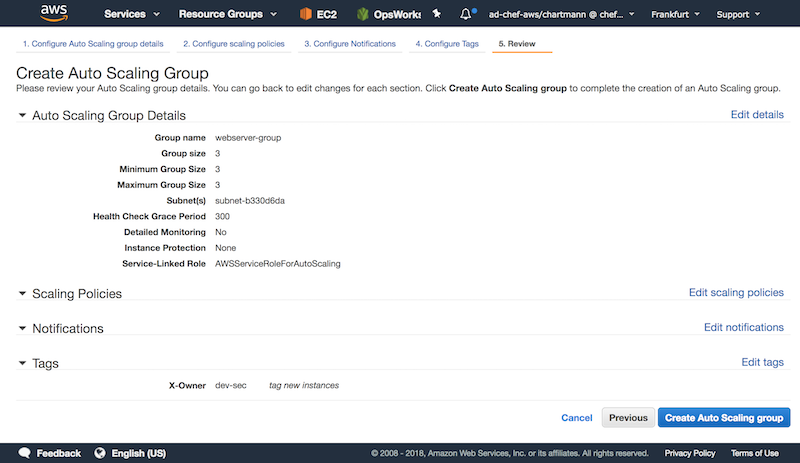
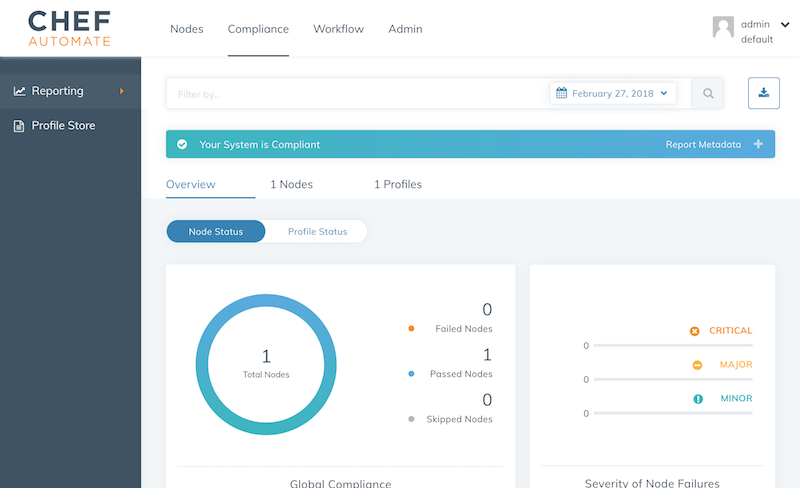
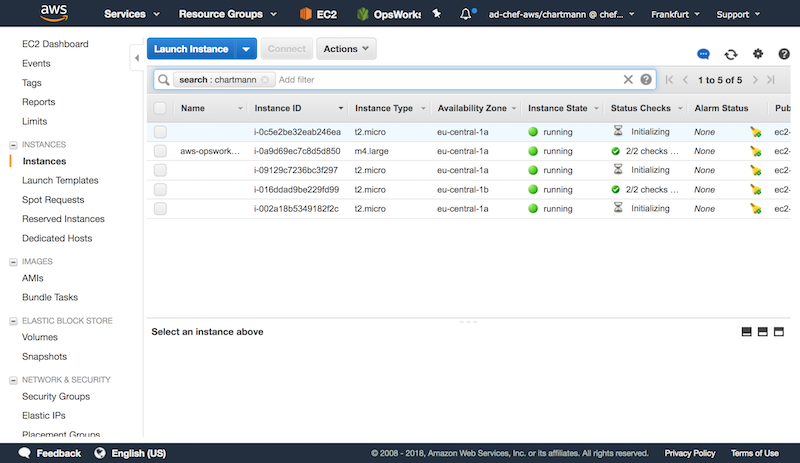
Once everything is configured, AWS will launch new instances that spin up Chef to harden the system and verify the compliance state with InSpec.
By combining InSpec for detection with Chef for hardening, we are able to scale our secure infrastructure effortless.

Use custom profile
In most cases, the built-in CIS and DevSec profiles help users to meet about 80% of their compliance goals. InSpec is very flexible and allows you to implement aggregated profiles or profile overlays. If you have in-house applications or custom requirements, InSpec is the tool that helps you to implement those as well. In our case, we are using a profile that allows us to verify instance tags.
# clone the InSpec profile to verify EC2 metadata
git clone git@github.com:chris-rock/ec2-example-profile.git

# package the InSpec profile for an upload
inspec archive ec2-metadata-example
Now, we are going to upload the generated tar.gz file to Chef Automate:
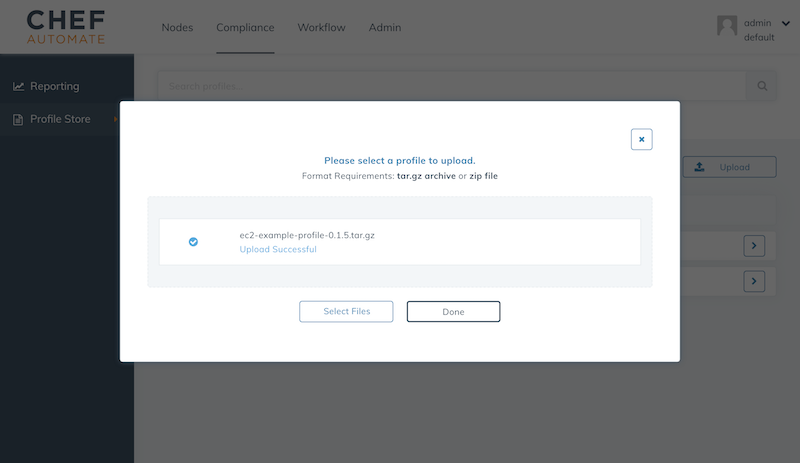
Once the profile is upload to Chef Automate, we simply need to update your role and add the new admin/ec2-example-profile profile.
name "webserver"
description "Example webserver"

default_attributes "audit" => {
    "reporter" => "chef-server-automate",
    "profiles" => [
        {
            "name": "ssh-baseline",
            "compliance": "admin/ssh-baseline",
        },{
            "name": "ec2-example-profile",
            "compliance": "admin/ec2-example-profile",
        }
    ]
}

run_list(
  "recipe[chef-client]",
  "recipe[ssh-hardening]",
  "recipe[nginx]",
  "recipe[inspec-page]",
  "recipe[audit]",
)
The next time the chef-client executes on each node, the profile will be executed automatically.

Summary
This post demonstrated the implementation of compliance measures in your fleet by integrating InSpec into your DevOps workflow. If you have any question, do not hesitate to raise an issue in my opsworks example.
FAQ
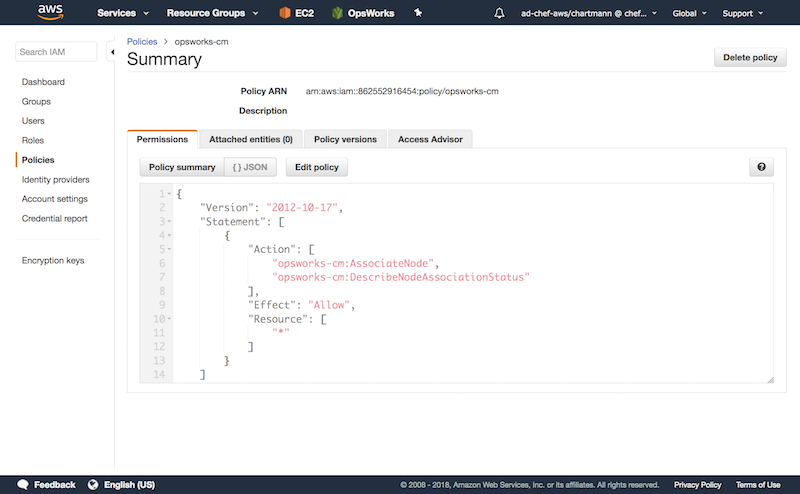
How do I setup instance permissions
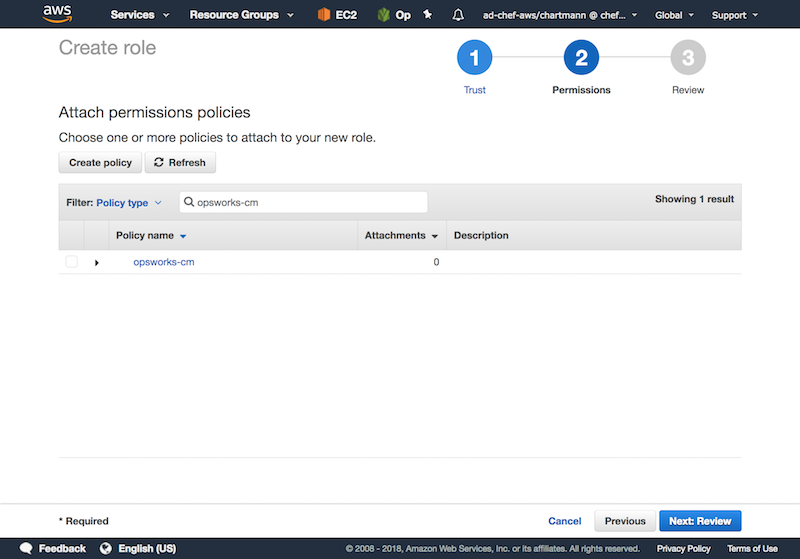
The used cloudinit userdata requires access to the AWS api via the AWS Cli. Setup the following policy named eg. opsworks-cm in AWS. Attach this policy to a role named opsworks-cm-role.
{
  "Version": "2012-10-17",
  "Statement": [
    {
      "Action": [
        "opsworks-cm:AssociateNode",
        "opsworks-cm:DescribeNodeAssociationStatus",
        "ec2:DescribeTags",
      ],
      "Effect": "Allow",
      "Resource": [
        "*"
      ]
    }
  ]
}
My node is not showing up in Chef Automate?
If the instance does not report to Chef Automate, it is very likely a AWS API permission issue. If you see an issue like
An error occurred (AccessDeniedException) when calling the AssociateNode operation:
User: arn:aws:sts::862552916454:assumed-role/aws-opsworks-cm-ec2-role/i-022db13089f495a34
is not authorized to perform: opsworks-cm:AssociateNode on resource:
arn:aws:opsworks-cm:eu-central-1:862552916454:server/opsworks/*
in your /var/log/cloud-init-output.log you need to ensure the instance has the correct IAM instance profile as explain on AWS docs.